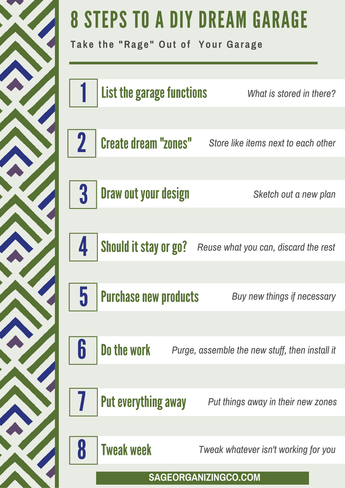
Includes free steps to DIY your dream garage planner
If you're willing to get a little dirty, you can DIY some garage organization and create a faux mudroom that won't cost a fortune.
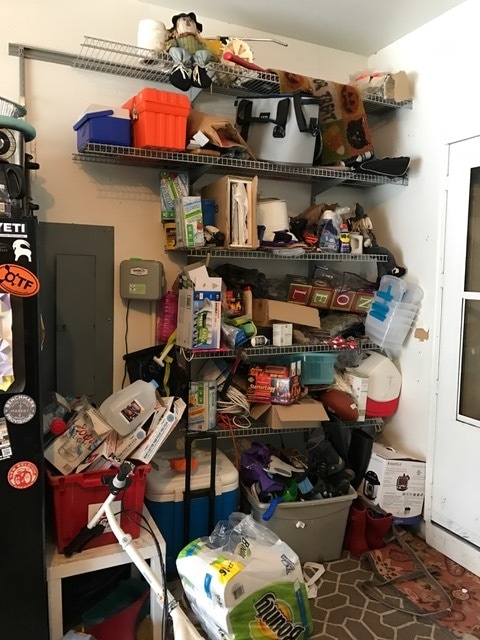
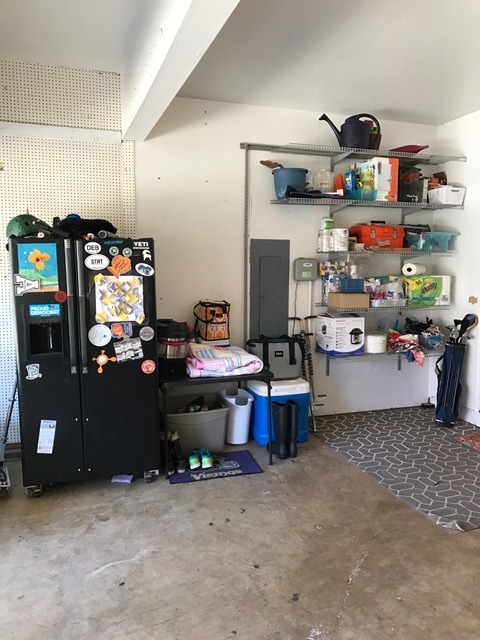
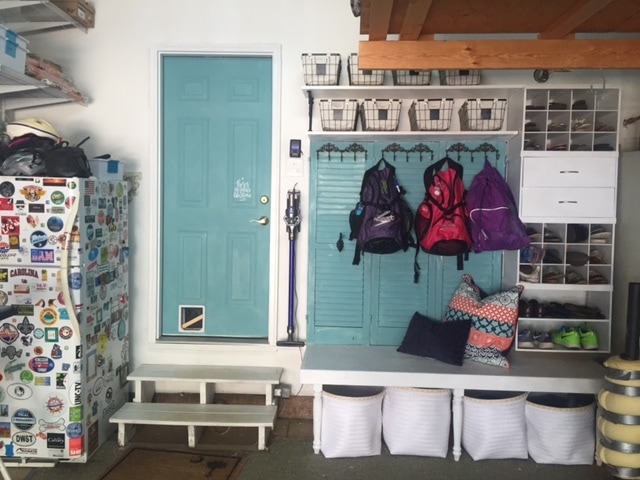
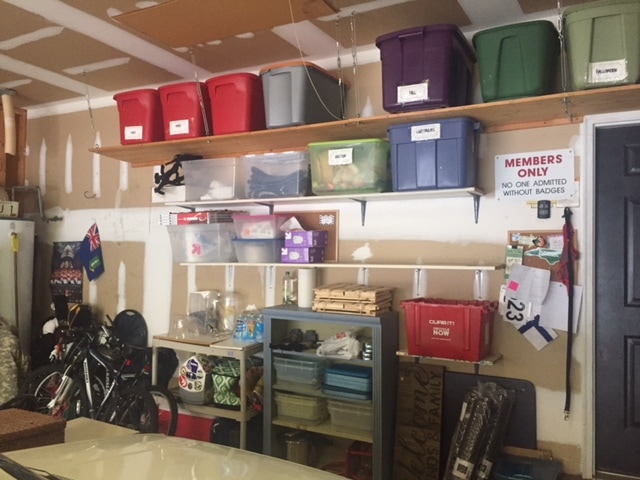
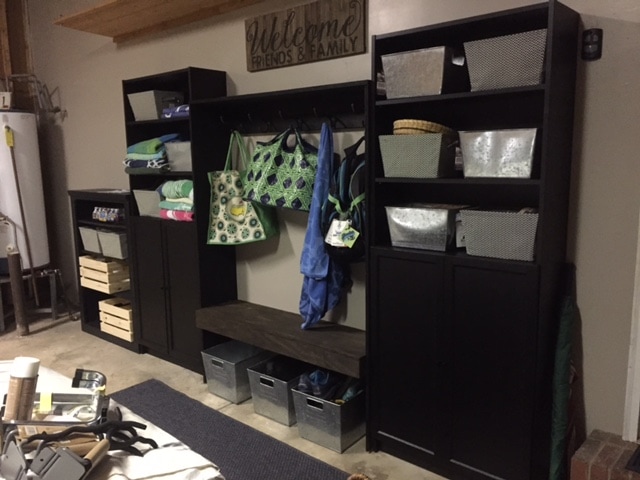
Over the years, garages have the tendency to go through an ugly metamorphosis:they begin as nice tidy spaces that easily hold two cars and then suddenly one day they are total unusable disaster zones. It happens to the best of us! But it doesn't have to be that way. When my husband and I decided that we were tired of the clutter taking over our garage, we decided to DIY: we cleaned out the Garage of Shame and turned it into a gorgeous Garage Drop Zone. After learning the tricks to successful garage DIY organization transformation, I started helping clients do the same. In this post, I'll share all the details to help you do the same.
Want To learn more about diy garage organization? Read on...clutter puts the "rage" in garage
The cold hard truth: when people hear that you’re a Professional Organizer, they assume you have a perfectly organized home. That it’s always clean, everything is put away in its place, and your closets and drawers are full of rainbows. So it is tough for me to admit that I was one of those people that had a Garage Of Shame.
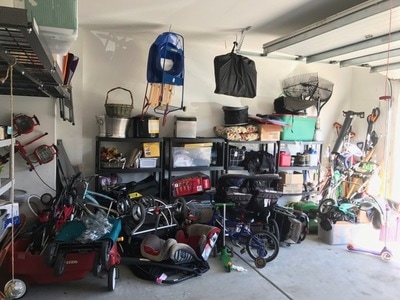
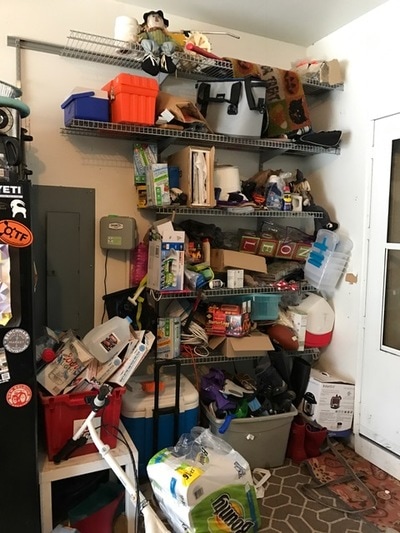
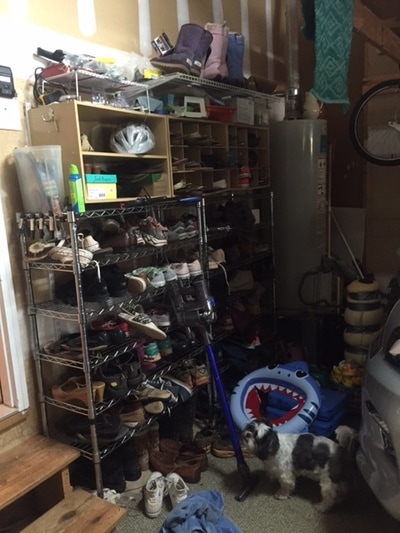
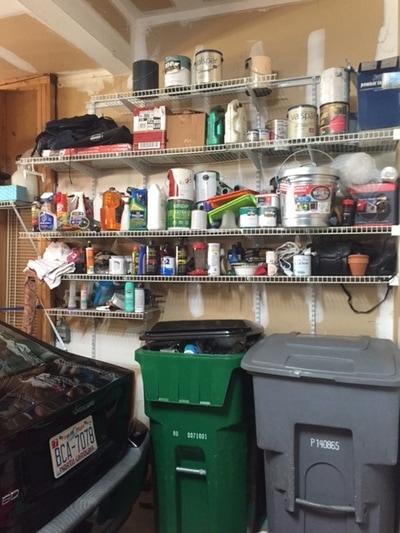
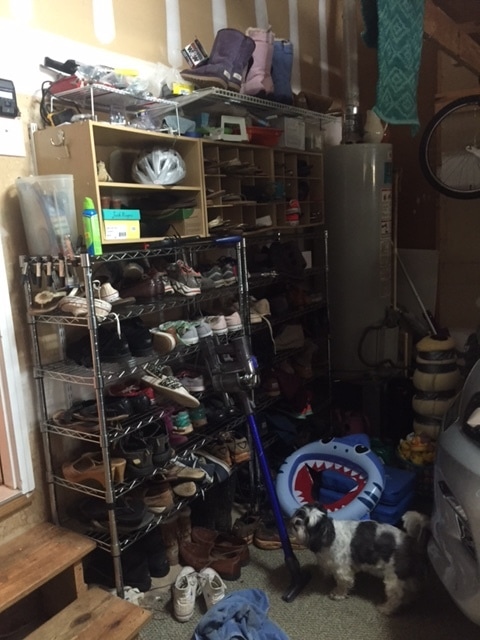
You know what I'm talking about, don't you? Cars that doesn’t run. Enough kid sports equipment to start a minor league team. All the stuff you bought at Costco that doesn't fit into the kitchen. And for the Love of All That is Holy: Shoes. Shoes, Shoes, Shoes. I get it: most people don't have mudrooms inside, so all the shoes, backpacks, jackets, wet towels etc. ended up all over the kitchen floor near back door. The garage also has to hold all the tools, car stuff, gardening items, lawn equipment, etc. The real estate in the garage is valuable space and it gets ABUSED! So Whatcha Gonna Do?
Listen: every home needs a Drop Zone for storage. You have to have a place for all the shoes, the backpacks, the jackets, etc. If we just had the right place to put things away, all our lives will be complete, right?!?!
But it's not so easy. In my case, I ran into several problems.
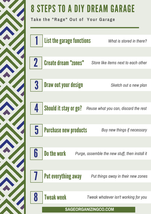
Step One: MAKE A PLAN OF ATTACK
The first thing I did was sit down and made a list of what functions the garage currently had, as well as the additional functions we wanted it to have. After that list is written, always run it by another person in the house. In my case, my husband looked at the list and caught things that I had totally missed, like, you know… Sports Bar. What self-respecting residential garage doesn't have a sports bar in it?!? Ah, Duh!
Then to triple check, I researched DIY garage organization zones on Pinterest. I knew that I wanted to copy the “zone” concept that I read about. I also knew that I wanted it to be pretty, but not too feminine for a garage. But most of all, I wanted to make sure I had a home for everything. What is your garage's j-o-b?
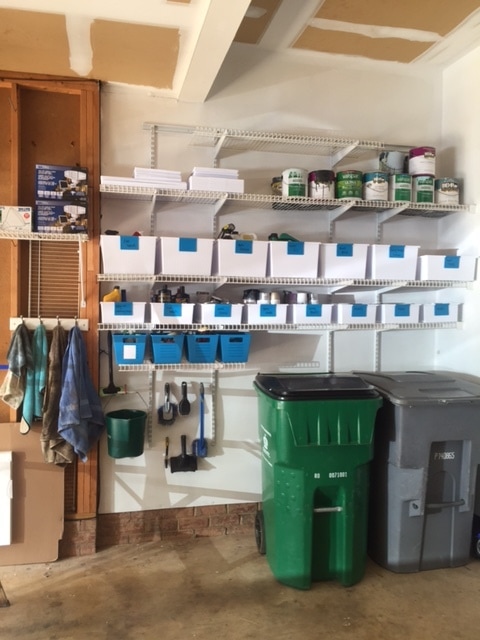
Here are things that I see in most home garages:
Suggested articles:
Assess the Mess: How to Plan out Downsizing a Home with free printable Room-by-Room checklist STEP TWO: DRAW OUT YOUR DESIGN. Or: I’m not an architect, but I did watch Mike Brady on the Brady Bunch.
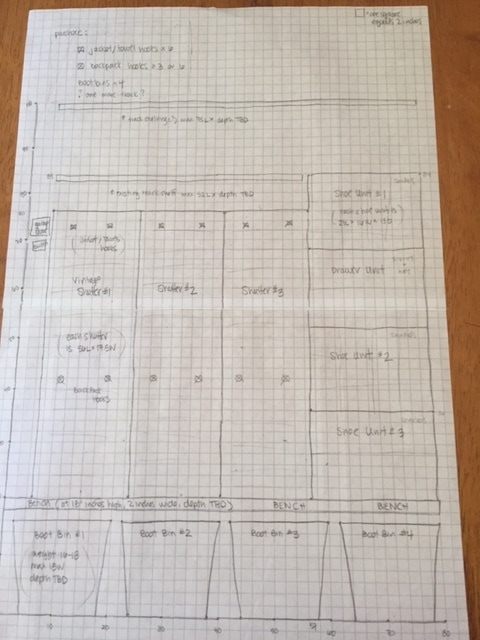
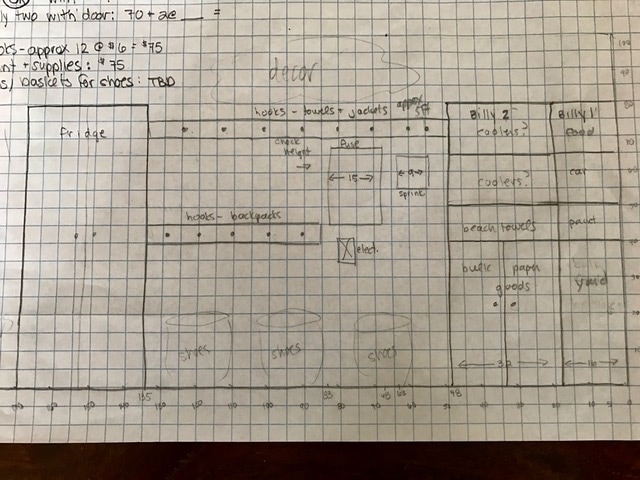
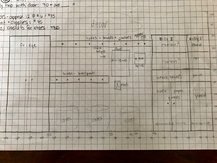
Step Two: Draw out your plan. I measured all the spaces, then added in the zones I wanted to create. Rough sketches at first, then I used chalk to draw it out on the garage floor so I could get a “feel” for what it would look like. You can pencil it in on the walls, use painters tape to mark it out...whatever. Just get the vision of what you want it to look like before you start.
Step three: should I stay or should I go?
Now that I knew what I space would generally look like, I had to decide what was going to be re-used and what was not. I inspected the inventory:
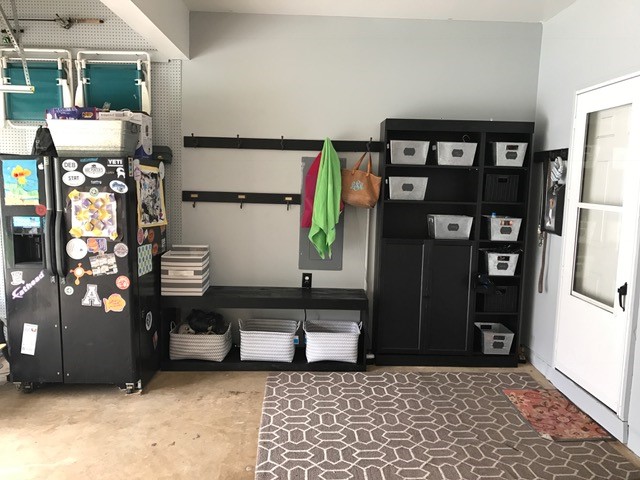
What Hadda Go: *The banged up metal shelving unit that came with the house had to go. *The circa 1940’s desk that was warped and covered in 15 layers of paint had to go. *And so did the pretty, but way too narrow-shelved bookcase I had from my days at the bookstore. It all went to the curb (and a guy in a truck took it before the City did). What Was Getting a Second Chance A bookcase with deep and adjustable shelves, that was painted an unfortunate shade of dusty blue sometime in the 90’s. I slapped on two coats of black paint to match the color of the new bookcases I was purchasing. (My goal was to have all the seperate pieces look like they were one cohesive wall unit). What Needed to Be Purchased Fixtures: 2 new bookcases with doors. I decided to go with Billy bookcases from Ikea, then added the doors on the bottom shelves. The price was right! I also wanted a bench and a row of heavy duty hooks. I couldn’t find a product I liked that would fit the function, so I found a local handyman who built a bench and row of hooks. Décor: I love closed storage, so I was going to need baskets, bins, etc. I purchased those at Walmart (their Better Homes and Gardens product line has cute pieces at great prices). Naturally, I was going to need some new indoor outdoor rugs (Ikea), pretty wall décor and hooks (Hobby Lobby). All in, I think I spent about $500 on the new stuff, including the material and labor from the handyman. Step four: put on your " diy /working in the garage" clothes
Now that there was a written plan, a boatload of Ikea boxes to open and assemble, and miscellaneous bags of products all over the kitchen, it's time to get to work preparing the space.
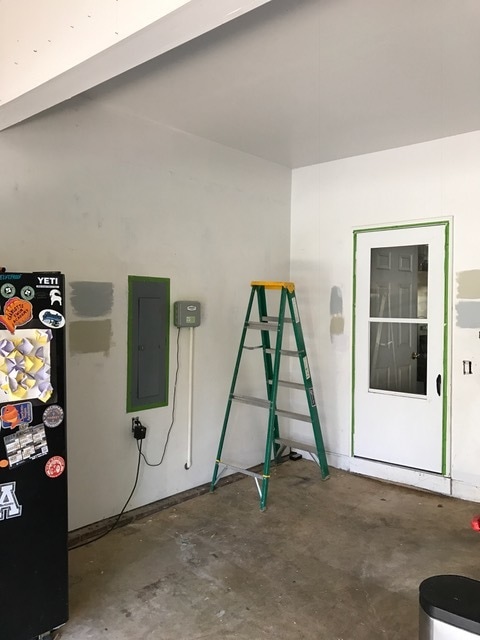
Step One: Binge and Purge. For about 2 weeks, we spent 30 minutes to 2 hours a day hauling the crap out of the garage. We filled our neighbor’s trashcans two weeks running. When we set things to the curb for the City to pick up, some random guy in a pickup hauled things off before the City got here. I filled the back of my truck and did a Goodwill run almost daily. Please hear me when I say: THROW OUT YOUR JUNK. IF YOU DON'T LOVE IT ENOUGH TO KEEP IT IN THE HOUSE, LET IT GO. Step Two: Ikea Rage. Now that we had room to work inside the garage, it was time to paint existing fixtures to match. That was my DIY job, while my husband was in charge of Ikea-ing. I can’t repeat the language he used while building the bookcases, but you did notice the I said “Ikea rage”, right?!? My handyman built the bench and row of hooks unit, then I painted and stained it. Step Three: Install. When everything was ready, anchor everything to the walls, level it all out, installed hooks and, lastly, put up decor pieces. Step Four: Stand back and say DAAAAA-YUUUUMM! Marvel at your brilliance. Crack open a cold beer. Step 5: pretend it December 26th. Put your stuff away!
|
|
Grab access to the free Planner and all the other free printable organizing resources here.
|
Categories
All
Back To Schoool
Before & After
Closet Organization Ideas + Hacks
Decluttering Your Home
Downsizing Your Home
Estate Clearing
Family Heirlooms
Family Schedule Logistics
Free Download
Garage DIY Organization
Garage Mudroom
Grocery Planning
Holiday Organizing
Home Organizing
Later Life Planning
Meal Planning
Mental Health
Moving
Organizing Aging Parents
Organizing Products
Selling Offline
Selling Your Stuff
Sentimental Items
Weekly Family Routine
Looking for something?
Archives
November 2023
October 2023
September 2023
April 2021
March 2021
February 2021
January 2021
December 2020
November 2020
October 2020
September 2020
August 2020
July 2020
June 2020
May 2020
April 2020
March 2020
February 2020
January 2020
December 2019
November 2019
October 2019
September 2019
May 2019
April 2019
March 2019
November 2018
October 2018
September 2018
July 2018
June 2018
May 2018
April 2018
March 2018
February 2018
January 2018
December 2017
November 2017
October 2017
September 2017
August 2017
June 2017
May 2017
April 2017
March 2017

